Move money quickly and securely. This section includes internal transfers, external transfers, bill payments, person‑to‑person payments, and scheduled or recurring transactions.
Make a Transfer
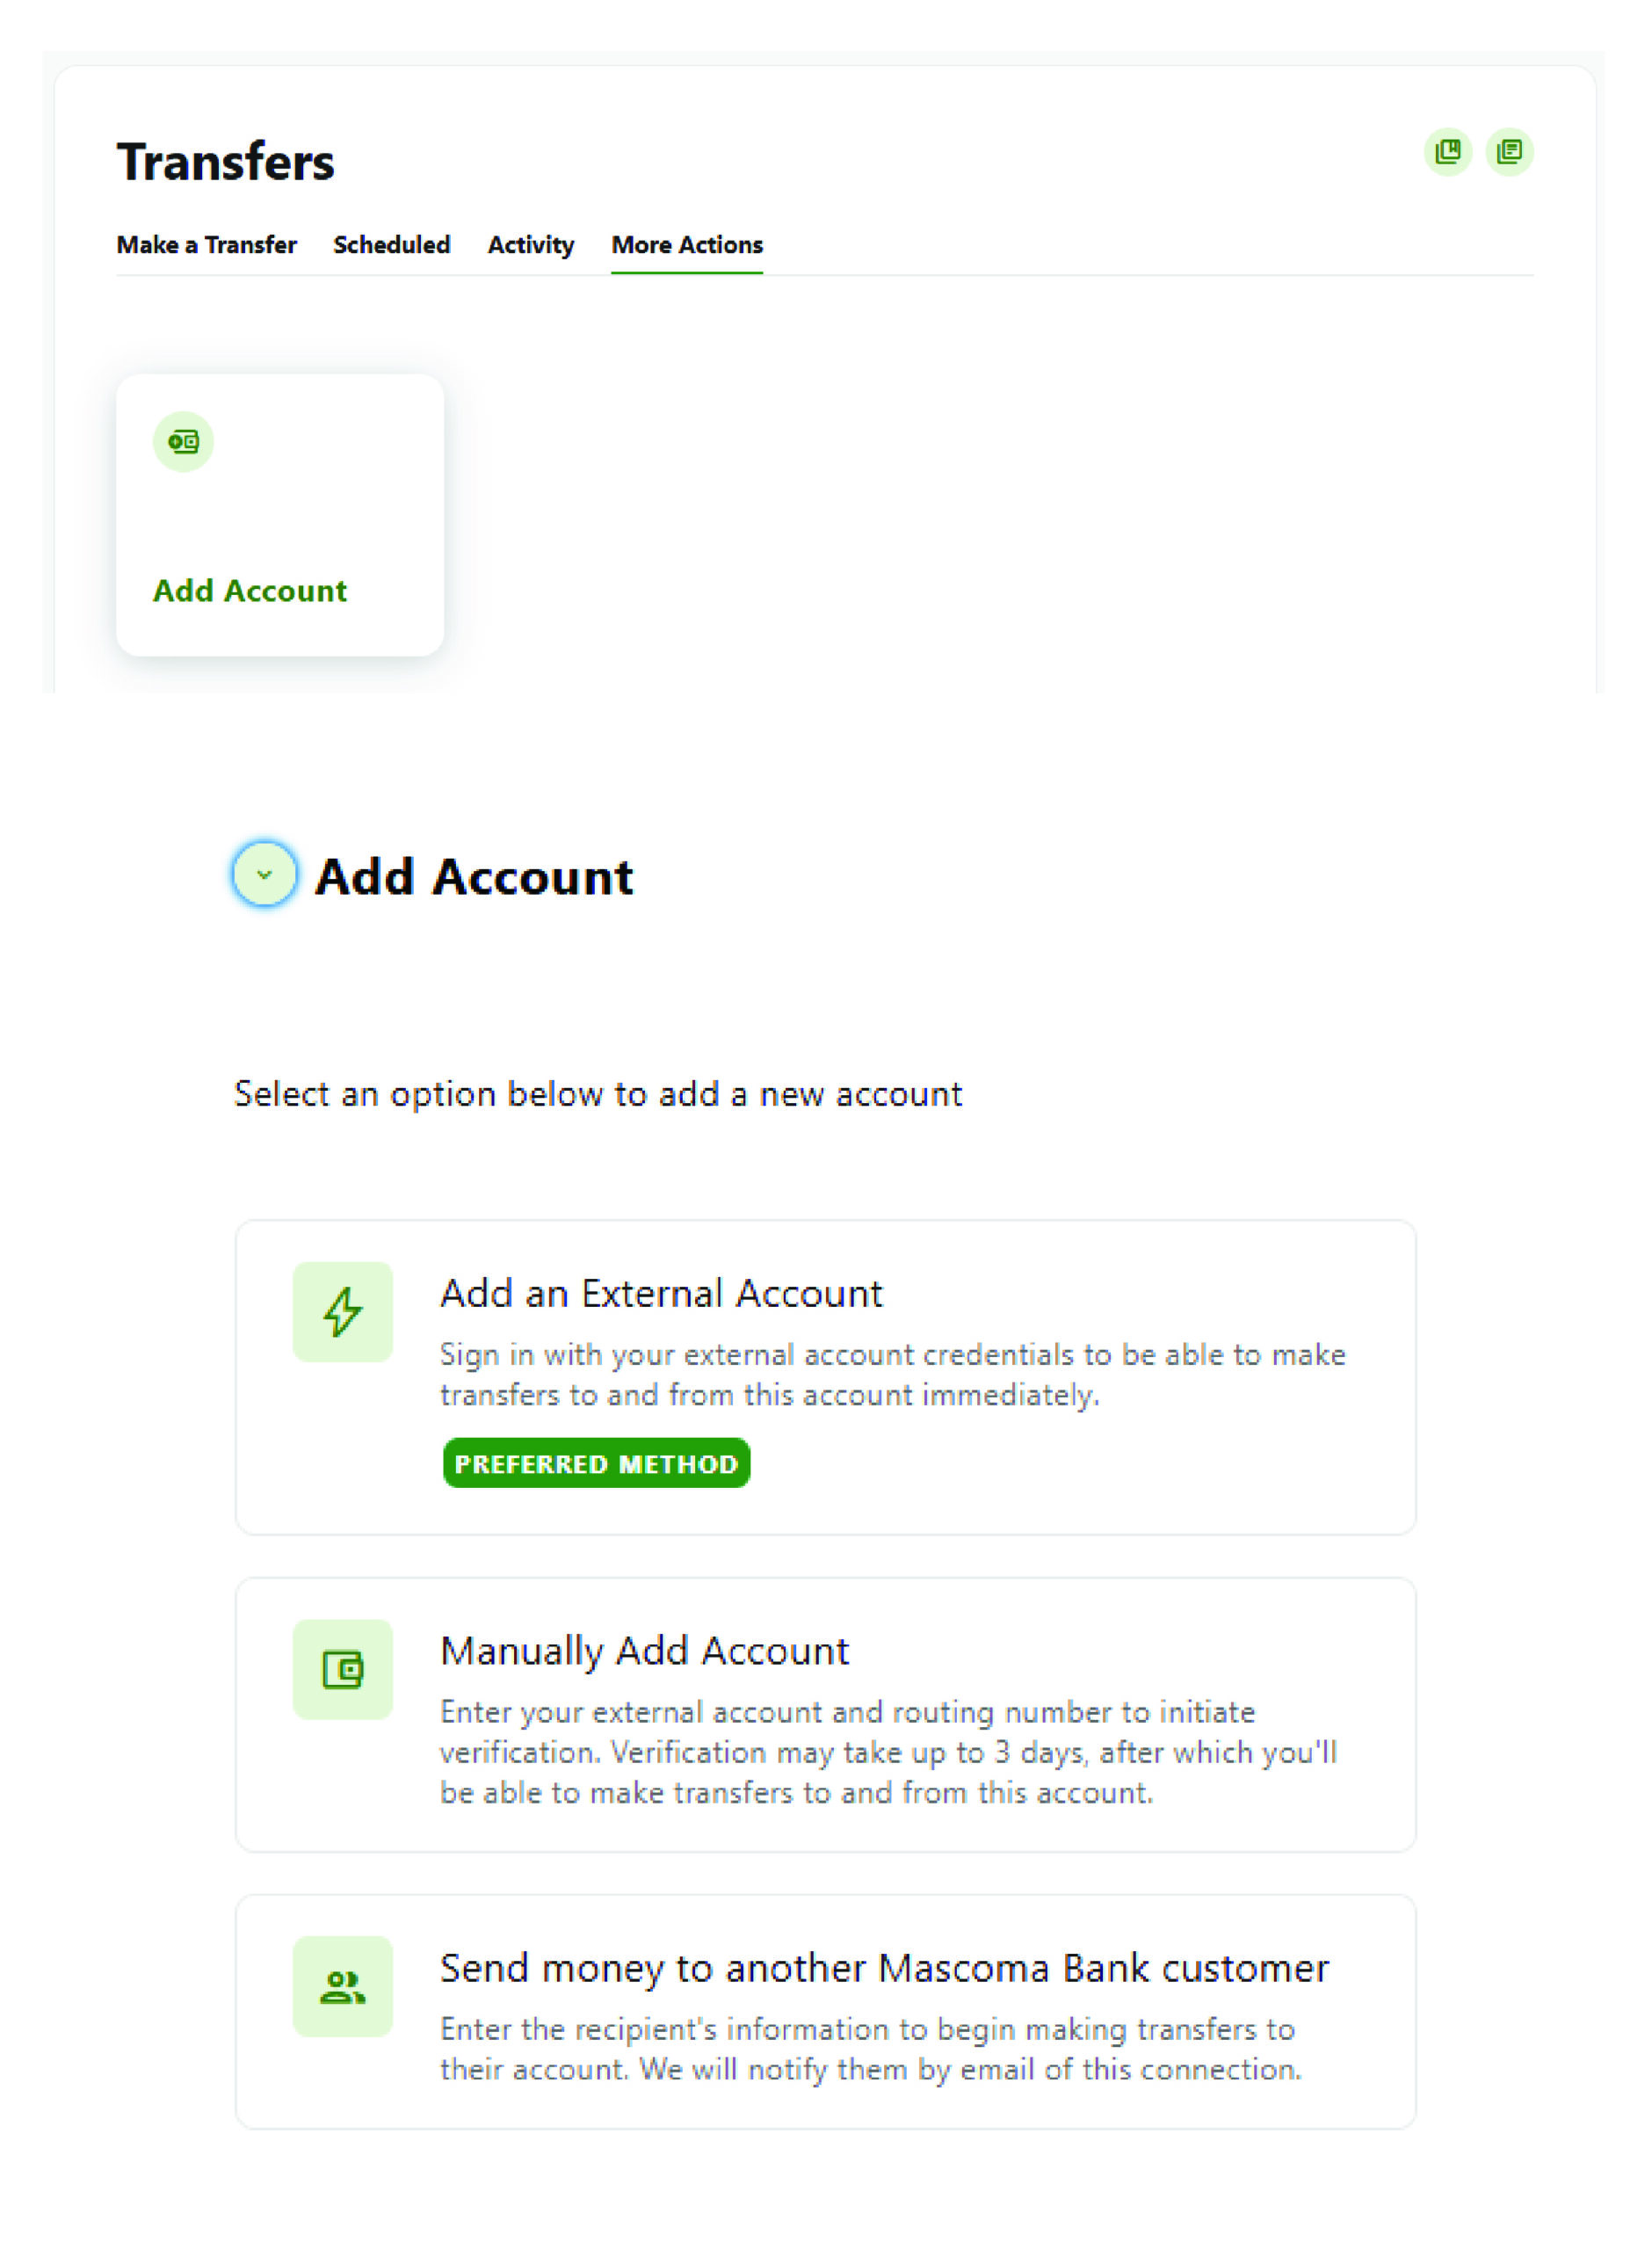
- Navigate to “Transfer & Pay” and click “Transfers”
- Select the source account from the “From Account” dropdown menu
- Select the destination account from the “To Account” dropdown menu
- Select the amount you want to transfer
- Choose the date (or state date) you want the transfer to take place
- Select the frequency with which the transfer will repeat
- Review the transfer and then submit
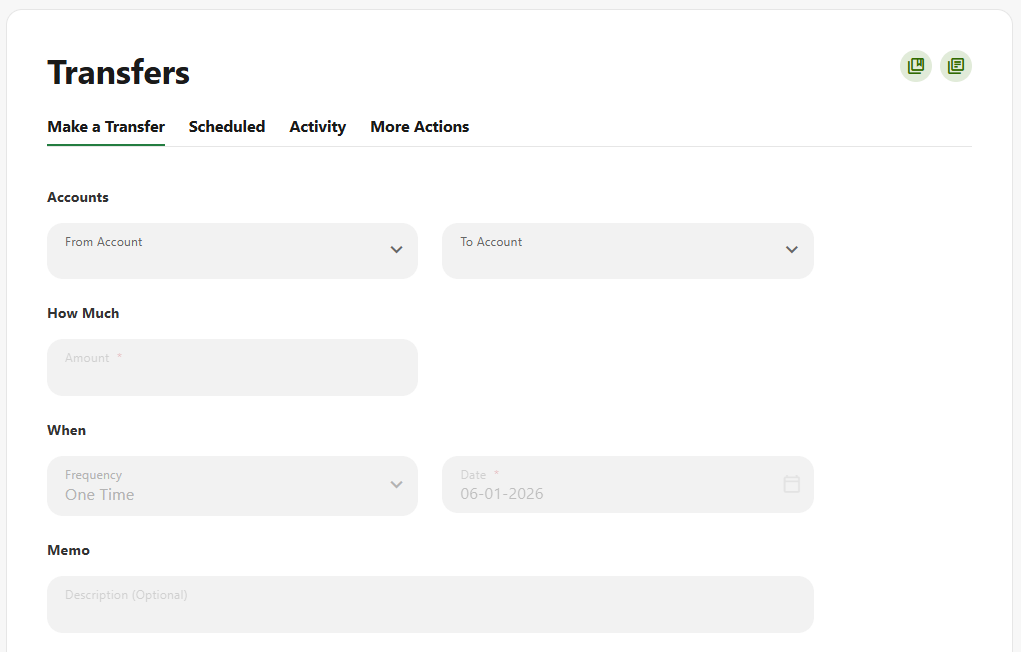
Scheduled
View all the transfers that are scheduled.
You can View Transfer Details, Edit Transfer, and Cancel Transfer by clicking on the ellipses (…) next to Status.
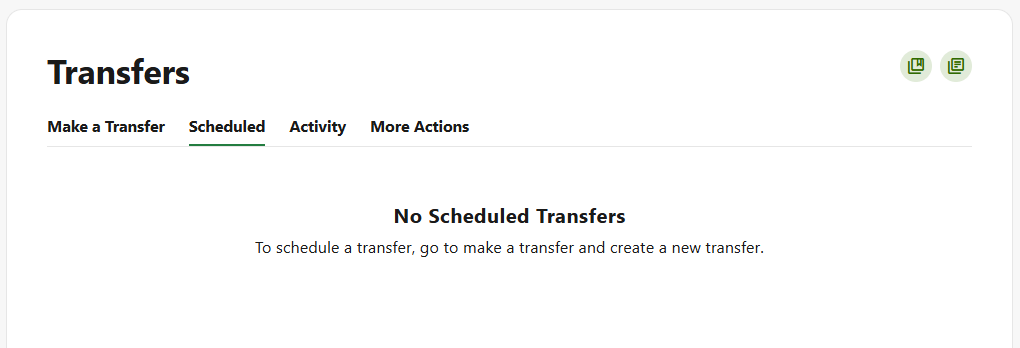
Activity
View all successful or failed transfers with details as seen below.
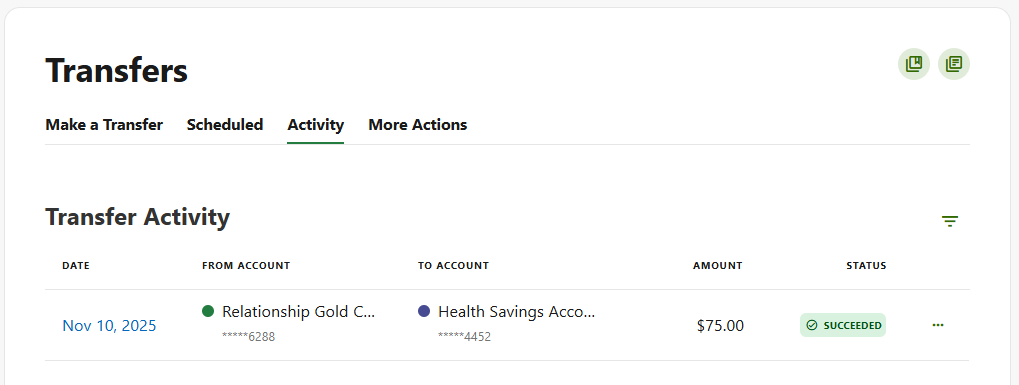
More Actions
- Click on the “More Actions” tab and select “Add Account”
Add an External Transfer Account – Manually
- Select “Add an Account Manually” from the dropdown menu. The Add Account window is displayed.
- Enter an Account Type
- Enter a Routing Number
- Enter an Account Number
- Confirm the Account Number
- Enter a Nickname
- Click the “Continue” button to add the account or click the “Cancel” button to close the window
- This step needs verification. A code is sent via your chosen method – email, text, or call. Enter the code and click “Verify”
The system will send two trial deposits to the account. This process may take up to three business days to complete. Before the account can be added to your profile, you must confirm the value of the first and second trial deposits.
To view the pending external account and confirm the trial deposit, go to your Dashboard.
- Click on the “Confirm” notification that appears (as seen in the image).
- This will take you to the Accounts tab in Settings. Select the account and click the “Confirm” button
- Enter the two trial deposit values and click the “Confirm” button to successfully add the external account for transfers.
Add an External Account – Instantly
- Select “Add an Account Instantly”
- Select the financial institution you would like to add
- Enter the credentials for the financial institution you are adding and click the “Submit” button. The criteria will vary depending on the financial institution.
- Select how you’d like to receive the code for verification (text, email, or call)
- Enter the code and click the “Submit” button
- Select the accounts you’d like to use for transfers by clicking the toggle, then click the “Submit” button
- Click the “Continue” button to verify
Send Money to Another Mascoma Bank Customer
- Select “Send money to another Mascoma Bank customer” from the dropdown menu. The recipient information window is displayed.
- Enter the necessary details and click the “Save” button
- Verification is needed. Select from text, email, or call to receive the code
- Enter code to confirm your identity using your chosen method
Please reach out if you have questions or need additional assistance.